I had a few ides regarding my hair design for Miss Havisham, but wasn't sure which hairstyle to create. l really liked the Victorian hairstyles from the 1840s to early 1860s because of the lovely curls. I wanted to use them at the front and then make a bun at the back and pin the curls around it.
Of course, the hairstyle I choose to create in my final assessment will not be as neat as it should be as I am creating a Miss Havisham look when Pip first saw her. Her hair was everything but nice and neat. Having that in mind, here are some of the images that inspired me to create the hairstyle and drawings below...
Portrait of two sisters
1840
(source: http://gogm.livejournal.com/8269.html)

Elizabeth Wethered Barringer
oil on canvas
1852
artist: Frederico de Madrazo
(source: http://commons.wikimedia.org/wiki/File:BarringerEW-MadrazoPC20080120-8829A.jpg)

late 1850s evening hairstyle
drawing
(source: https://www.pinterest.com/pin/179088522657540525/)

Gillian Anderson as Miss Havisham
Great Expectations
2011
(source: https://gillianderson.wordpress.com/2012/09/16/great-expectations-2011/)

Gillian Anderson as Miss Havisham
Great Expectations
2011
(source: https://gillianderson.wordpress.com/2012/09/16/great-expectations-2011/)
Practicing in the lesson
In our lesson with Helen, I asked her to help me how to create the look I want to create. She said that the best thing I should do is to make a twisted bun and then pin the curls around it. Originally, I was going to curl my partners fringe but Helen advised me to have them straight for my Miss Havisham look, and curl them when I do Estella's hairstyle in a few weeks. Also, I took a lot of continuity photos as I was going along.
So first I created a middle parting and left the fringe straight. Then I sectioned the top part of the hair at the back into a pony tail. I didn't do it very neatly because of the messy the look I was going for. Simply twisting the hair around I create some kind of a bun, in this case padding, and pinned it to stay in place. Then I curled the rest of the hair, using the bigger tongs, making sure I had three even sections at the front, and pinned the curls until they cool down. Finally, I pinned the curls around the bun, where I thaught they would look nice, leaving the three sections down to frame the face. I made sure I had bits of hair falling down to get that messy look.

My partiners hair before styling
Sectioning the hair

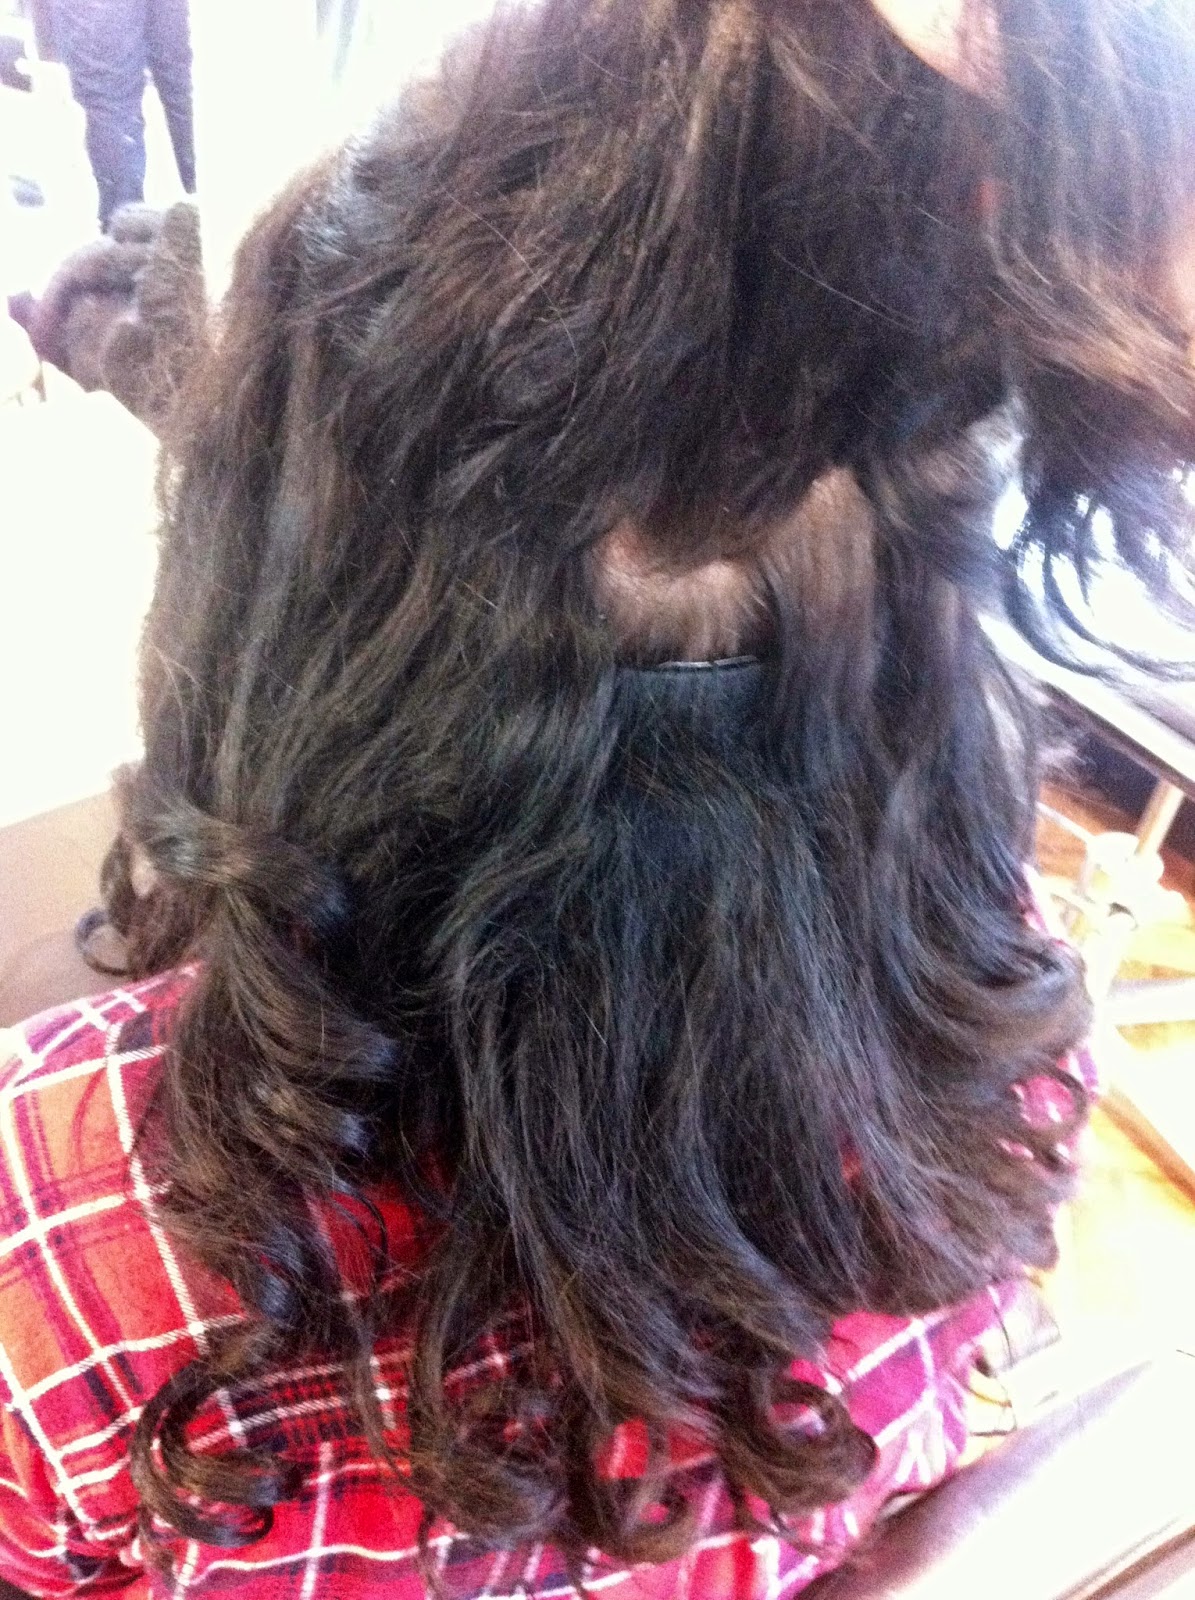
Twisted bun - padding

Twisted bun up close

Pinned curls

Hair after taking out the pins

Hair after curling - front and back sections

Pinning the curls around the bun

Pinning the curls around the bun

Pinning the curls around the bun
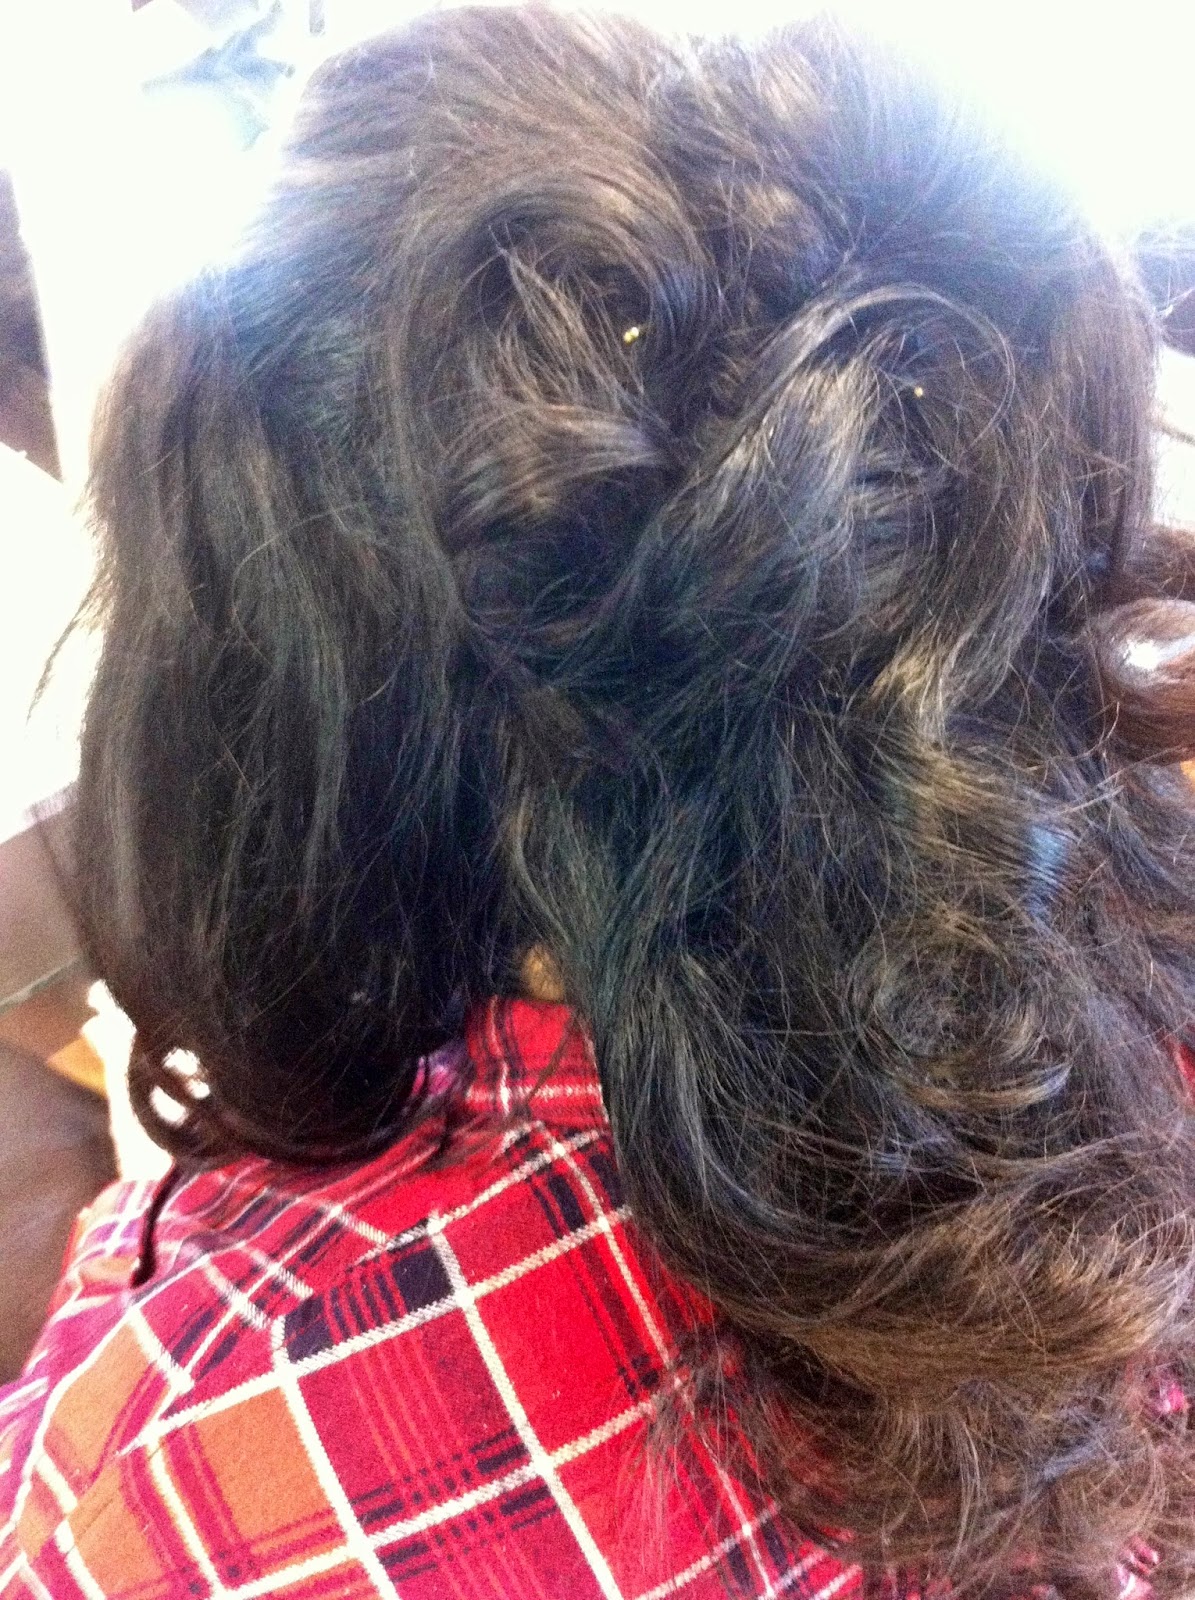
Pinning the curls around the bun

Pinning the curls around the bun

Final look -back

Final look - side

Final look - front
(hairstyle created on Feb 17th 2015)
The hairstyle is not hard to create but considering we only get an hour and a half to create both hair and make up, I don't want to spend a lot of time curling (it took me 45 minutes to curl in the lesson. Therefore, I have decided to create a look similar to this one, but with slight changes so I aviod the stress of not having enough time in my timed assessment. Also, I will use gel or a similar product to make the hair look greasy because, let's face it, hair gets greasy after not washing it for 3 or 4 days, so I can only imagine what Miss Havisham's looked and felt.
Thes is just a drawing that I created by taking inspiration from hairstyle I've created and the images above...

One my ideas for a mid Victorian hairstyle
drawing
(Feb 18th 2015)
reference found on: Feb 15th 2015
Nema komentara:
Objavi komentar